How to Fix “Permission Denied” in Mac Terminal — chmod, chown & More
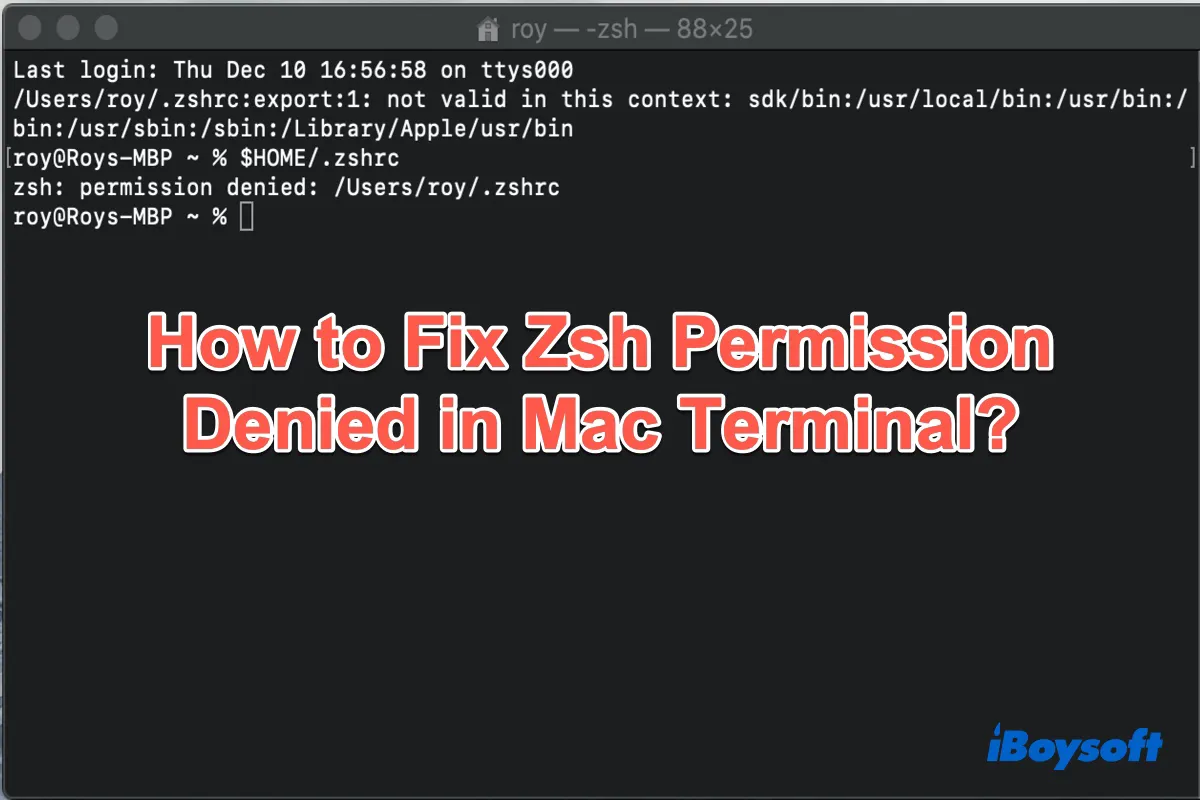
Running a command in macOS Terminal and suddenly hitting a zsh: permission denied wall is one of the most common stumbling blocks for Mac users. Whether you’re editing config files, running scripts, or managing directories, this error stops you cold — but it almost always has a straightforward fix.
In this guide, we’ll break down exactly why “permission denied” appears in Terminal, show you how to check and change file permissions using chmod and chown, and walk through manual fixes step by step — no third-party tools required.
What Is the “Permission Denied” Error in Mac Terminal?
macOS is a Unix-based operating system, which means every file and directory on your Mac carries a set of ownership and permission flags. These flags determine who can read, write to, or execute a given file.
When Terminal displays permission denied, it means the current user account doesn’t have the access level needed to complete that action. The most common reasons are:
- You are not the owner of the file or folder.
- The file is locked or set to read-only.
- You’re running the command without the required superuser (
sudo) privileges. - The command itself is incorrectly formatted.
How to Check File Permissions in macOS Terminal
Before changing anything, inspect what permissions are currently set on the file or directory causing the error. Use the ls -l command:
The string at the start (-rw-r--r--) tells you everything. Here’s how to read it:
| Characters | Who | Meaning |
|---|---|---|
rw- |
Owner | Read & write, no execute |
r-- |
Group | Read only |
r-- |
Others | Read only |
rwx |
Owner | Full access (read, write, execute) |
Fix 1: Use chmod to Change File Permissions
The chmod command (change mode) is the primary tool for modifying file permissions in macOS Terminal. The most common fix is granting read, write, and execute permissions to the file owner.
Give Full Permissions to the Owner
Make a Script Executable
If you’re getting permission denied when trying to run a shell script, it likely lacks execute permission. Fix it like this:
chmod Permission Number Reference
| chmod Value | Permissions | Use Case |
|---|---|---|
755 |
rwxr-xr-x | Scripts & directories |
644 |
rw-r–r– | Regular files (read/write for owner) |
777 |
rwxrwxrwx | Full access for everyone (use with caution) |
600 |
rw——- | Private files (SSH keys, etc.) |
777 on sensitive files. Full access for all users can create security vulnerabilities, especially on shared machines.Fix 2: Use chown to Change Directory Ownership
If you own the file but still see permission denied, the issue might be ownership — the file or folder might be registered to a different user. The chown command (change owner) reassigns ownership to your account.
To check your current username, run:
Fix 3: Use sudo for Superuser Access
Some operations — especially those involving system directories — require elevated privileges. Prefix your command with sudo to run it as the superuser:
sudo stands for “superuser do.” macOS will ask for your password and grant temporary elevated access for that specific command only.Fix 4: Change File Permissions via Finder (No Terminal Needed)
If you’d rather not work inside Terminal, macOS Finder gives you a GUI alternative:
- Locate the file or folder in Finder.
- Press Command + I to open the Get Info window.
- Scroll down to Sharing & Permissions.
- Click the lock icon and enter your admin password.
- Change your username’s Privilege from Read only to Read & Write.
- Close the window and retry your Terminal command.
Fix 5: Check if the File Is Locked
macOS allows files to be “locked” at the system level, which prevents any modifications regardless of permissions. Unlock a file from Terminal:
Or via Finder: Open Get Info (Command + I), and uncheck the Locked checkbox near the top of the window.
Quick Troubleshooting Reference
| Symptom | Likely Cause | Fix |
|---|---|---|
zsh: permission denied: ./script.sh |
Script not executable | chmod +x script.sh |
Permission denied editing a file |
Not the owner or read-only | chmod 644 or chown |
Permission denied in system dir |
Requires root access | Prefix with sudo |
| File cannot be modified at all | File is locked | chflags nouchg file |
Frequently Asked Questions
What does “zsh: permission denied” mean on Mac?
It means the macOS Terminal shell (zsh) cannot execute the command because the current user doesn’t have the required access rights for the target file or directory. This is a file-system level restriction enforced by macOS’s Unix-based permissions model.
How do I run Terminal commands as admin on Mac?
Prefix your command with sudo — for example, sudo chmod 755 /path/to/file. macOS will prompt for your administrator password. Your account must be listed as an administrator in System Settings → Users & Groups.
Is it safe to use chmod 777 on macOS?
No, not for sensitive files. chmod 777 grants read, write, and execute access to all users on the system. It’s fine for temporary local testing but should never be used for config files, SSH keys, or anything under your home directory that stores credentials.
Why do I get “permission denied” even when using sudo?
This can happen if System Integrity Protection (SIP) is blocking access to protected system directories like /System or /usr. SIP restricts even root-level commands on certain paths. In most cases, you should not disable SIP — instead, work within user-accessible directories.
How do I check who owns a file in macOS Terminal?
Run ls -l /path/to/file. The third and fourth columns in the output show the owner username and group respectively. To see your own username, run whoami.